Have you ever been interested in designing your own unique repeat patterns without having to use tools like Photoshop or Illustrator?
If that's you, then look no further.
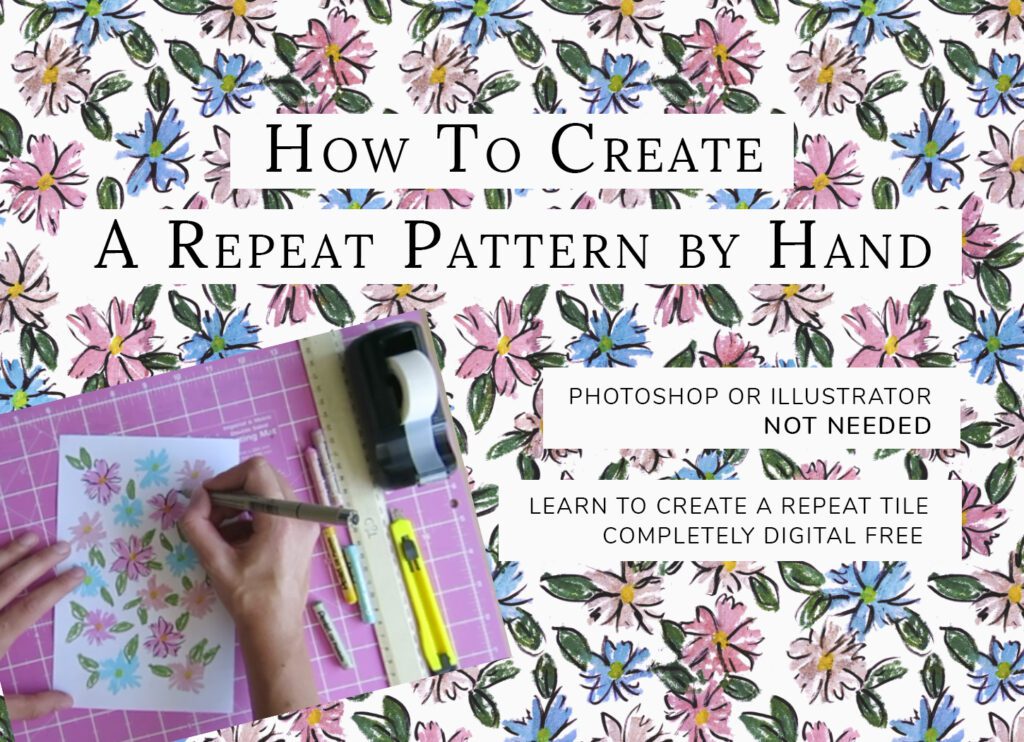
THROUGHOUT THIS POST, YOU WILL GAIN AN UNDERSTANDING OF WHAT EXACTLY A REPEAT PATTERN IS AND THREE VARIOUS FORMS IT CAN TAKE, AS WELL AS HOW YOU CAN CREATE YOUR VERY OWN STANDARD, REPEATING TILE – ENTIRELY DIGITAL FREE!
About two years ago, I was that person. I didn’t have any digital design tools that could help me with pattern creation, but I desperately wanted to start designing. So, I took to Google and started researching how to create repeat tiles entirely by hand. This became rather frustrating for me though because I struggled to find a decent tutorial that was simple and easy to follow. I came across very few resources that explained clearly how to make a repeat pattern without the need of any digital program to help. I spent hours trying to figure this out, and eventually came across one useful article that was able to point me in the right direction.
Given my own struggles in finding useful resources, this post serves as an outline to a simple, step-by-step process on how you can analogously create your own standard repeat tile, in the hopes that it will help. I also hope it will make the lives of those who are wanting to dive into the world of surface pattern design, but don’t have the electronic tools to do so, a lot easier.
The reason why I didn’t just go ahead and get illustrator to help with the design process when I first started was because I didn’t know if this was something that would stick. I didn’t want to pay for a subscription to something that could have just been a one-week hobby. Of course, now I use Illustrator and Photoshop to help me create new designs, but I can honestly say that I am so grateful I took the time to learn how to make repeat patterns by hand first. Doing this gave me an underlying foundation and understanding of how these patterns come together. When I use Photoshop or Illustrator now, I know exactly what is happening from a technical standpoint. So, I think this is a great starting point for beginning your journey as a pattern designer.
WHAT EXACTLY IS A REPEAT PATTERN?
Since you are probably new to pattern creation, I wanted to first outline what exactly a repeat pattern is.
At first, I was so confused about which pattern type to make and, moreover, what to Google to learn how to create it. I was at a loss for all the technical jargon involved with surface design. So, for those of you who are in a similar boat, here is a simple breakdown of what a pattern repeat is.
In a nutshell, a pattern repeat is when a rectangular or square block matches perfectly on all sides when repeated around all its sides. There is a seamless join when the blocks touch each other.
Now, there are many different types of repeat patterns one can create. Below is a list and explanation of three common types of repeating styles.
AN OVERVIEW OF VARIOUS PATTERN REPEATING STYLES
The Standard or Full Drop Repeat
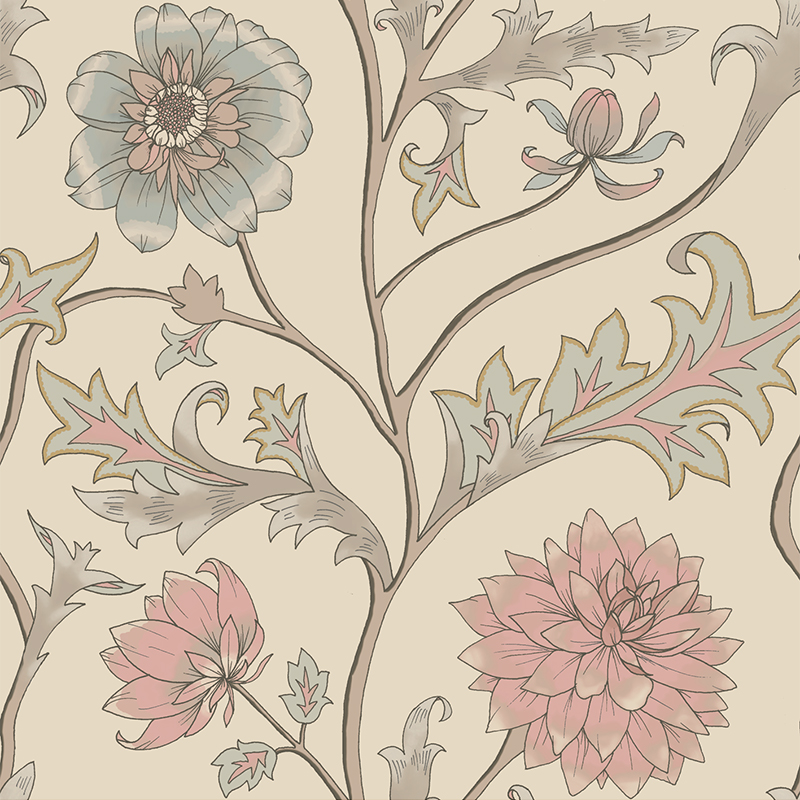
The standard or full drop repeat is the type of pattern we are going to learn how to create in this post. This is probably the most basic and common form of pattern creation and is a great foundation to learn how to create when starting out in the world of pattern design.
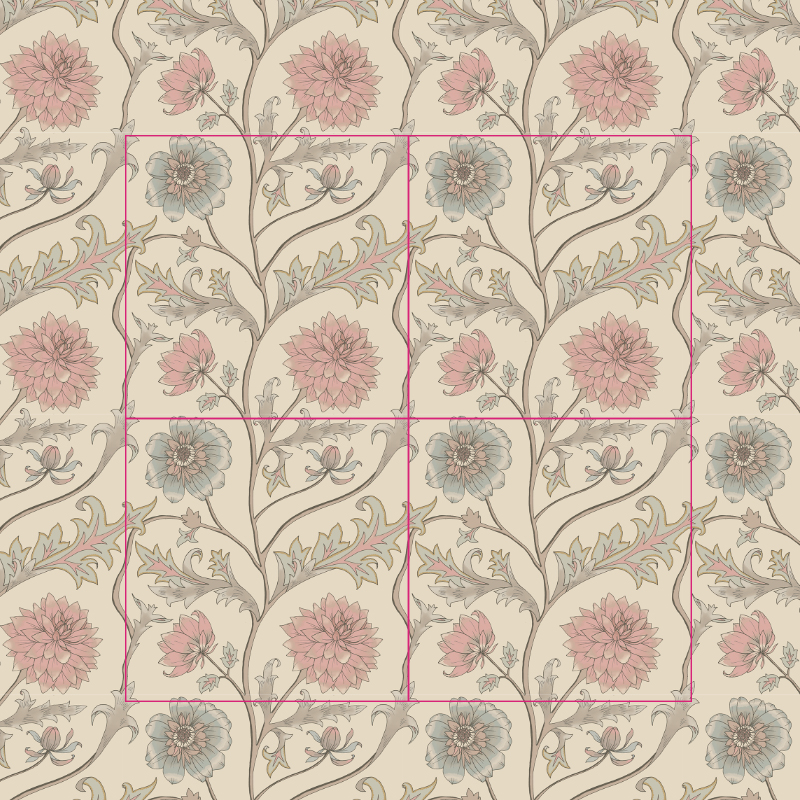
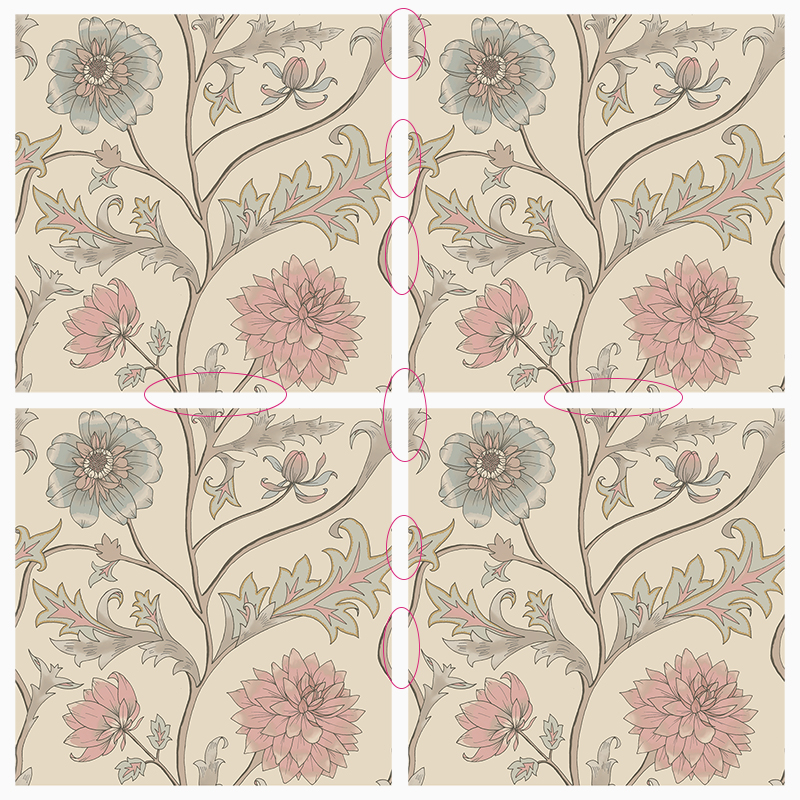
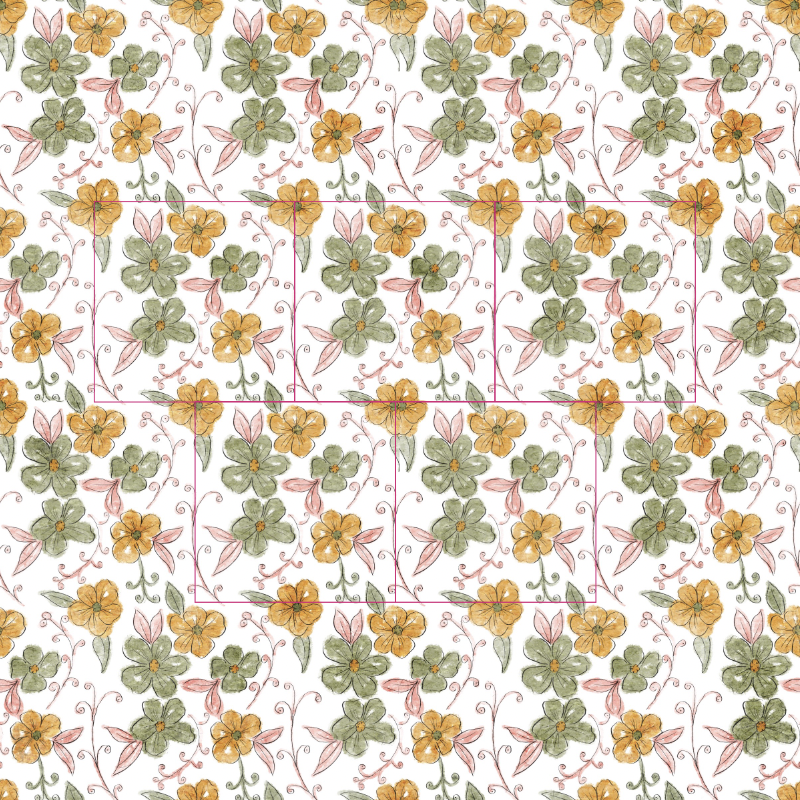
With this style, the elements are arranged in a regular and formal manner. The pattern is created by arranging the repeat tile directly above and below, as well as left and right of itself. See below for an example of this style in action.
The repeat tile (left) is perfectly repositioned above and below, as well as left and right of itself in order to create the full pattern (right).
We will get into the nitty gritty of how to perfectly match up each side of the tile in a moment.
INDICATION OF THE SEAMLESS JOINS
The Half Drop Repeat
The half drop repeat pattern is the second most common pattern you will find, and it’s one that I really enjoy using.
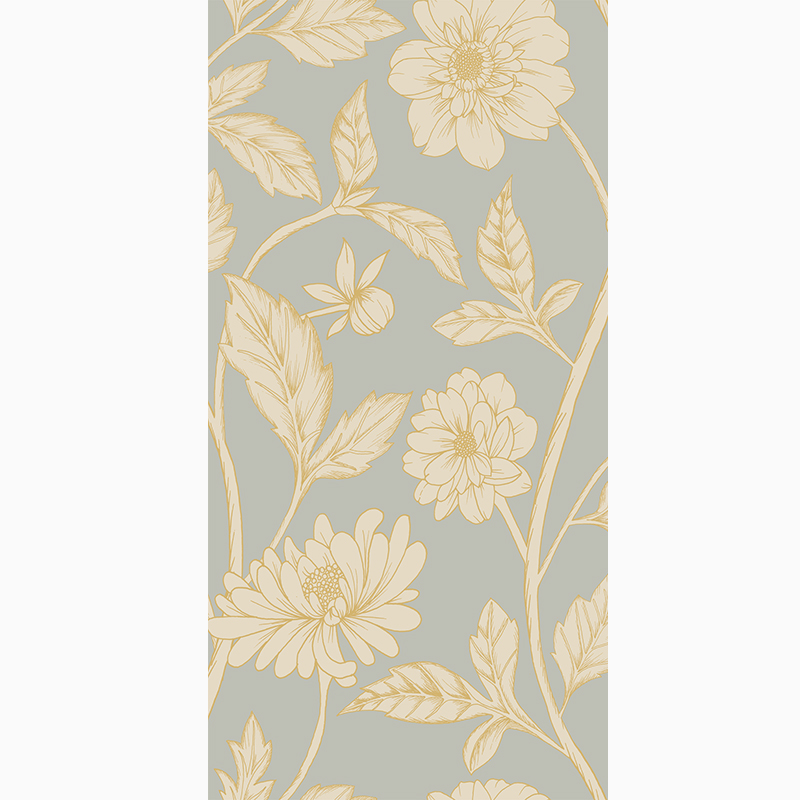
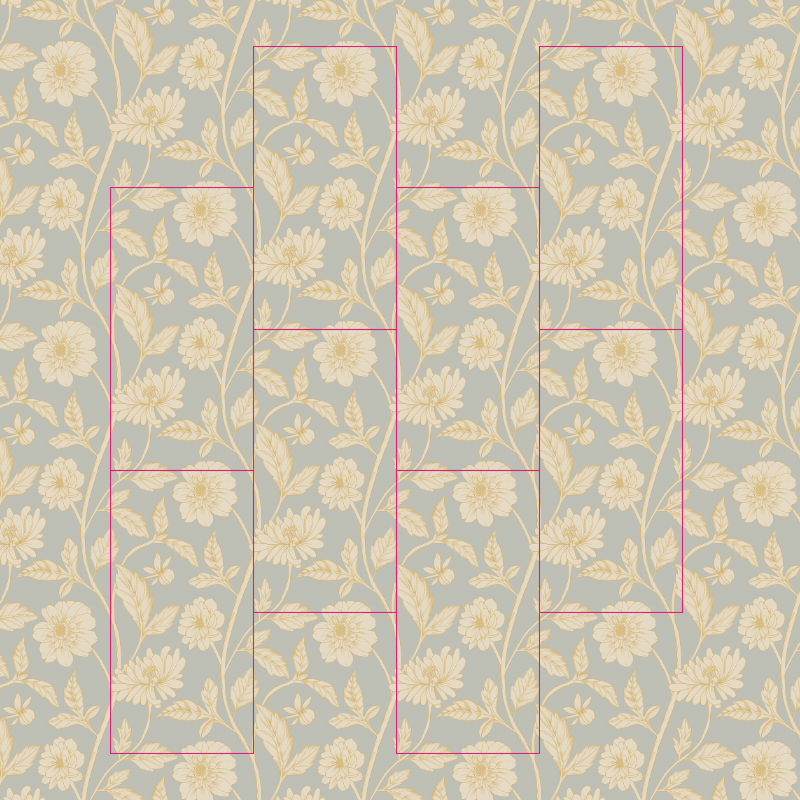
This is when the repeat tile is perfectly repeated above and below itself but drops halfway down on the left and right. I think the easiest way for one to understand this is to just show you.
As you can see from above, the half drop repeat tile (left) is perfectly repositioned above and below, but drops half way on the left and right.
There will be a tutorial coming soon on how to create this type of pattern.
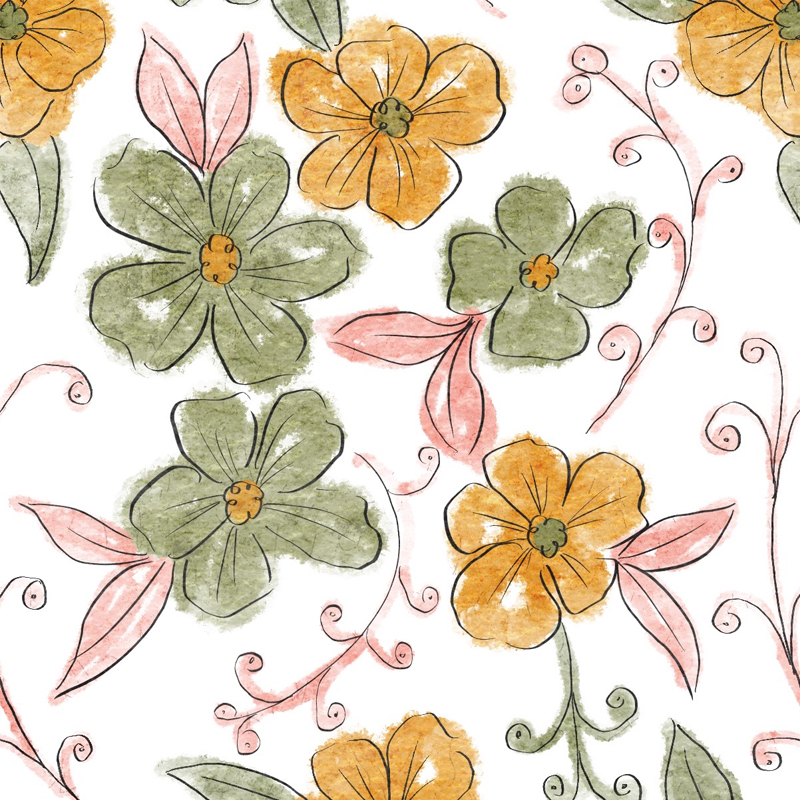
The Brick Repeat Pattern
I personally haven’t explored this pattern style too much, but I think it’s a good one to know about as well. If you understand the half drop repeat, then this one will be straight forward to grasp as it is quite similar. With the half drop repeat the tiles are perfectly repeated above and below, and half dropped on the left and right. The brick repeat does the opposite. The repeat tile is perfectly aligned when repositioned on the left and right and does a half ‘shift’ above and below. (I don’t want to use the word ‘drop’ here because technically the pattern doesn’t drop down the page but rather shifts to the side). The below pattern illustrates this style.
So now that we have an overview of three different repeat pattern styles, let’s jump into creating your own standard repeat pattern.
The below tutorial will provide you with full proof steps on how to create your very own.
TOOLS NEEDED TO CREATE A SEAMLESS REPEAT PATTERN BY HAND
Paper (either a rectangle or a square – either will work)
Drawing mediums (pen, pencil, paint etc.)
Scissors / NT Cutter
Sticky tape
Ruler
STEPS TO DESIGNING A REPEAT PATTERN BY HAND
Using the drawing medium of your choice draw your first motif in the center of your page. Make sure you do not touch or cross over the edge of the page, as this will affect the seamless effect on your pattern.
Once you’ve drawn your first motif, turn the page over, and number each corner.
Then, using your ruler, mark a point at the center of each side. You can then join these points by creating a horizontal and vertical line.
Now for the scary part… take your scissors and cut the page in half along the lines. If you’re worried about messing up your motif with this step, it might be a good idea to photograph or scan it in before, while it is still intact.
For the next step, we are going to rearrange the pages. Make sure to cross-reference the corners of your page with mine as it is important not to get the placement muddled up. Swap side 1 and 4 with each other, and then side 2 and 3. Basically you need to swop the diagonally opposite corners with one another.
As soon as your pages are reordered tape your page up using the sticky tape.
You can now turn your page back over the right way. You’ll find that the main motif is now separated into the 4 corners of the page, and that the center of the page is blank. This is where you’ll draw your next motif – in the ‘new’ page center. Again, make sure that you do not draw over or touch the edges of the page when you draw.
When you are finished creating the second motif, turn your page back around and ‘unstitch’ the tape on the vertical line.
Now you are going to swap the vertical halves with one another. In other words, you need to swap side 2 and 4 with side 1 and 3.
As soon as the pattern is rearranged, you can stitch it back up and turn the page back around.
You can now fill in any gaps you feel are missing, but again making sure you do not cross over the edges.
When you are happy, turn the page round one last time, unstitch the horizontal line, and then replace the top half with the bottom half i.e., page 1 and 2 with page 3 and 4.
Tape it back up, turn the page over, and fill in any last gaps that you think are necessary.
You can keep repeating these steps as many times as you need to until you feel that the pattern is completed and that all the gaps are filled in.
And that’s it! Congratulations, you’ve officially created your very own standard repeat tile.
Now that you’ve completed your pattern tile, you may be wondering how you can see what it looks like as a full pattern. Well, I have a few tricks to share on this.
If you drew your pattern using pen or pencil, then you could trace it using tracing paper and then manually duplicate the tile on several different pages. This could be quite time consuming though, so if you are looking for a quicker solution, then the next few ideas might suit you better.
You could photocopy or scan the design. Or alternatively, you could take a photo of it using your phone (making sure to get the camera angle perfectly parallel to the artwork). Once you’ve scanned or photographed the design you can open it up on your computer and drop it into a Word or PowerPoint document, and then simply arrange the design in those programs to get an idea of how it will look. To do this you simply need to copy and paste the tile into position. Before I had photoshop, I used to do this quite often to get a visual idea of what I had created. This is also the method I used in the video tutorial below.
Some more creative ideas could be to carve the pattern out into vinyl or wood to create a pattern repeat stamp that can then be used on a multitude of surfaces. This will only really work with a simple pen or pencil drawing though.
You could lastly, take the tile and put it into a site like Spoonflower, which will automatically generate the full pattern for you. If you made it this far, congratulations! I hope you managed to create something beautiful using the steps above. By now you should have a good understanding of what exactly a repeat pattern is, knowledge of three various repeat styles, and the step-by-step process of how you can create your own standard repeat tile. I hope you’ve enjoyed following along and that you’ve been able to learn something new today.
One comment on “How to Create a Repeat Pattern by Hand”
Absolutely loved your article – found it very straight forward to read and hopefully understand. Can’t wait to try it out.
You mentioned that you may be posting about a half drop method at some point – I wondered if you had an idea when that might be. That is the type of pattern drop I am particularly interested in.
Thank you in anticipation
This website uses cookies so that we can provide you with the best user experience possible. Cookie information is stored in your browser and performs functions such as recognising you when you return to our website and helping our team to understand which sections of the website you find most interesting and useful. Visit our privacy policy for more information.
Strictly Necessary Cookies
Strictly Necessary Cookie should be enabled at all times so that we can save your preferences for cookie settings.
If you disable this cookie, we will not be able to save your preferences. This means that every time you visit this website you will need to enable or disable cookies again.
3rd Party Cookies
This website uses Google Analytics to collect anonymous information such as the number of visitors to the site, and the most popular pages.
Keeping this cookie enabled helps us to improve our website.
Please enable Strictly Necessary Cookies first so that we can save your preferences!


Absolutely loved your article – found it very straight forward to read and hopefully understand. Can’t wait to try it out.
You mentioned that you may be posting about a half drop method at some point – I wondered if you had an idea when that might be. That is the type of pattern drop I am particularly interested in.
Thank you in anticipation