I recently completed a renovation to my kitchen. As old-fashioned kitchens go, it was small and rather disgusting. The initial idea, when first moving into the house three years ago, was to spruce up the existing kitchen whilst planning, dreaming and waiting for plans to be passed and the piggy bank to fill up. Knowing it was only for a few months, I was happy and knew that with my spring-cleaning skills, I would be able to live with the faux renovation for a short while.
Action was initiated and we removed the wooden cupboard doors to ready them for a scrape, sand, and paint. The idea was to replace the embarrassing counter tops with Formica tops and paint out the carcasses, replace handles and add a little of this and a little of that. All was going smoothly until we removed the counter tops! Golly gumdrops… We encountered unplastered walls built with broken bricks, what seemed like 100-year-old sludge and slime under and around the sink cupboard, spiders galore, mold and more.
Peter and I looked at each other and we both knew what the other was thinking – rip it all out and toss it away as quickly as possible, including the horrible 80’s style tan coloured brick floor tiles. So, we did. We had some help and within a day or two had four blank walls decorated with a gazillion electric wires draping across the room into a very disorganized and uncompliant electrical board. So much for compliance certificates when you purchase a home.
THE FAUX RENOVATION
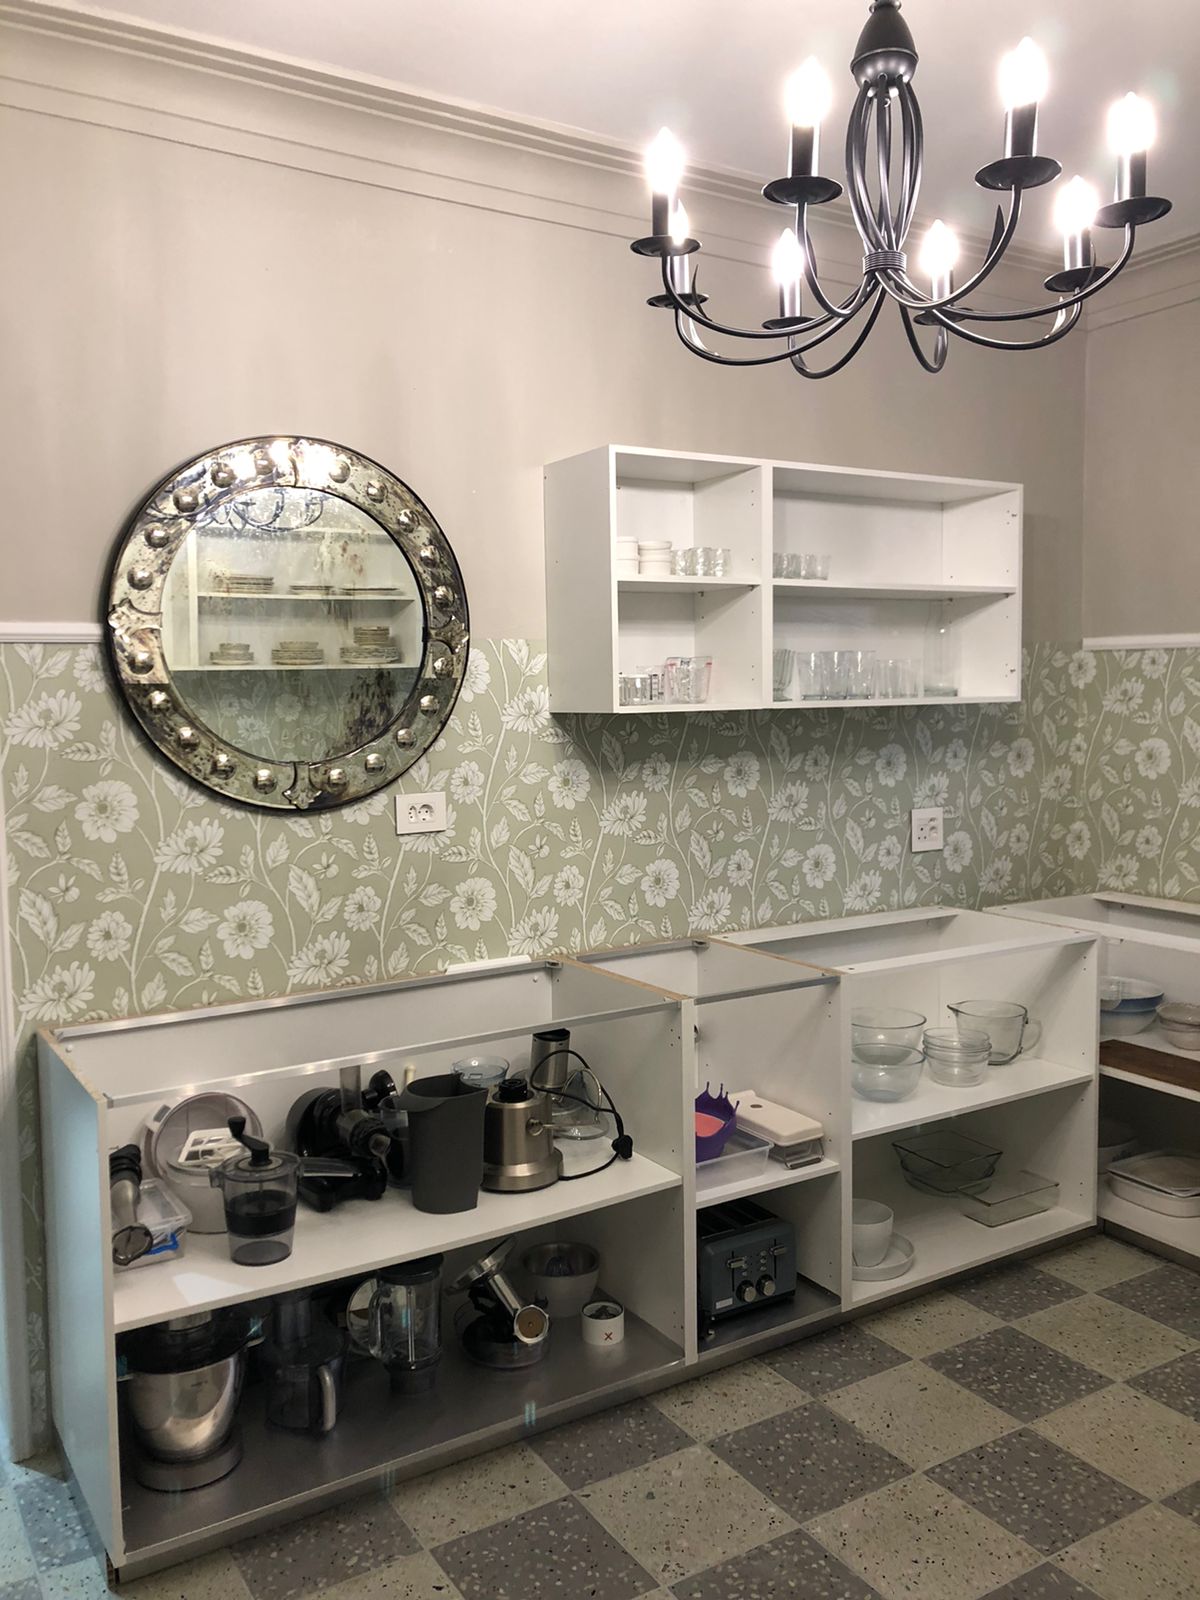
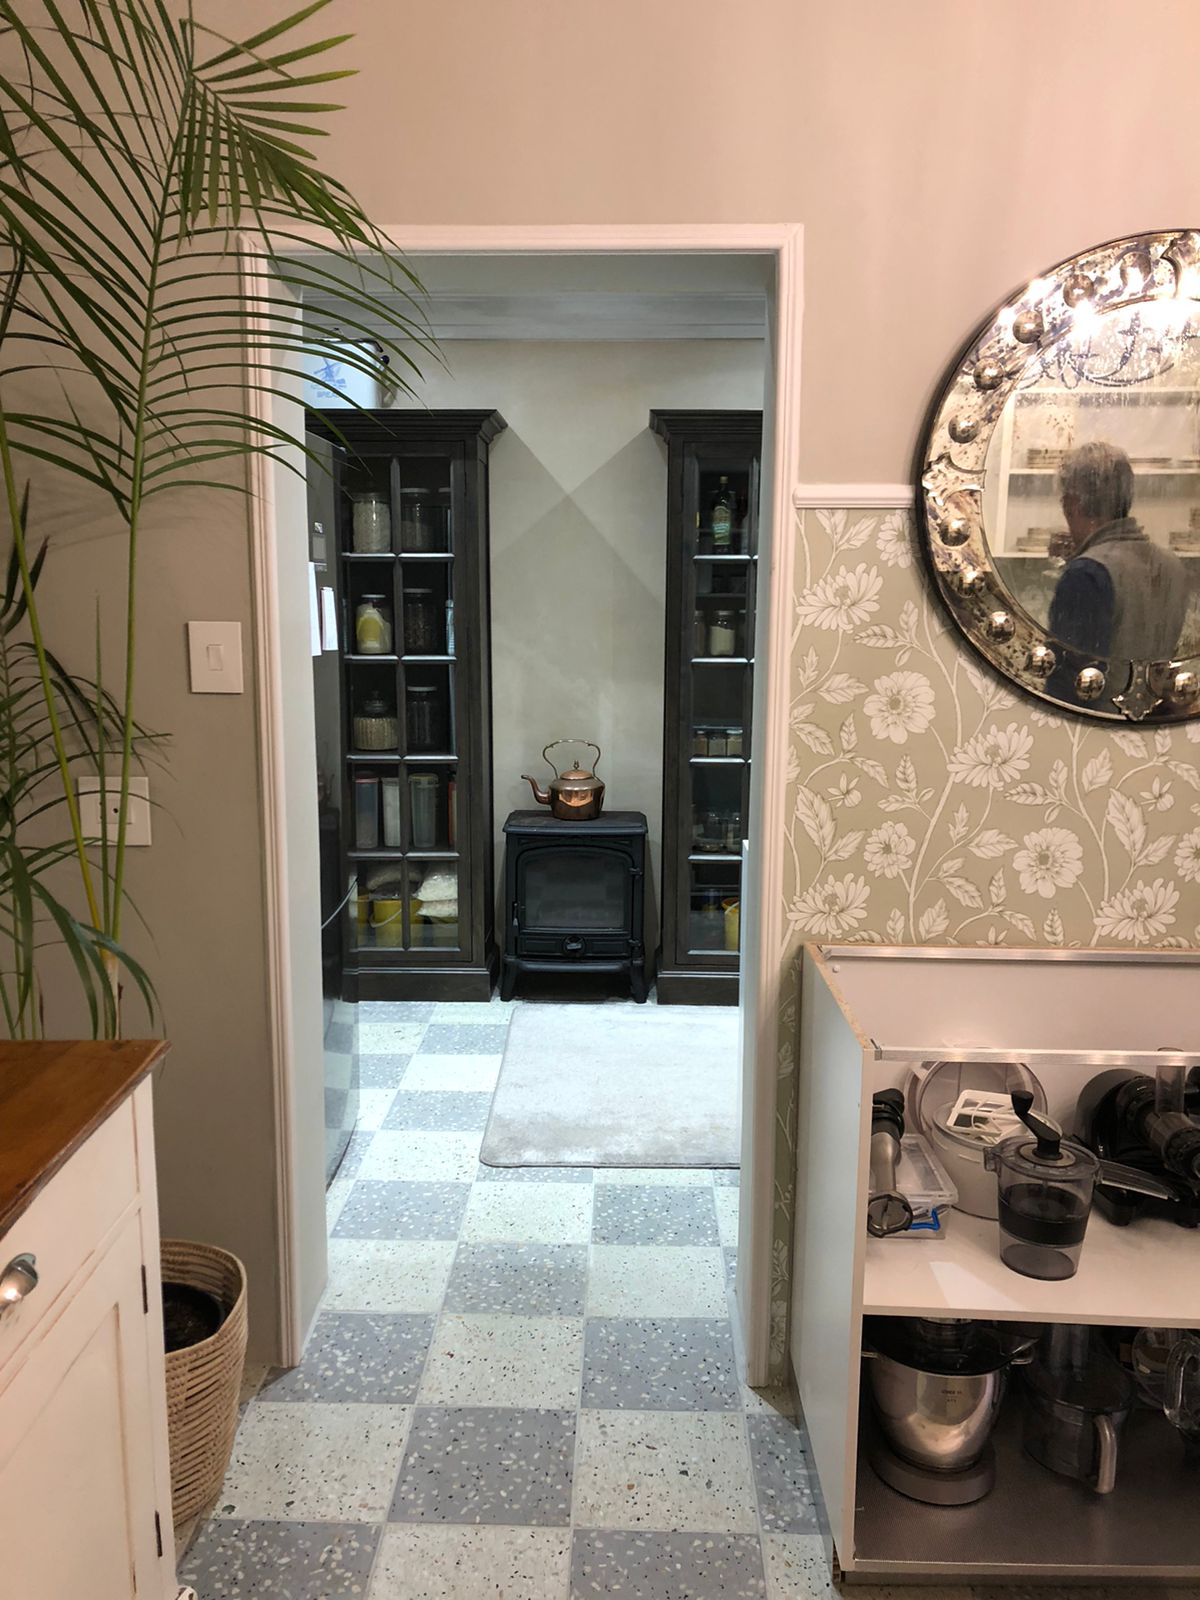
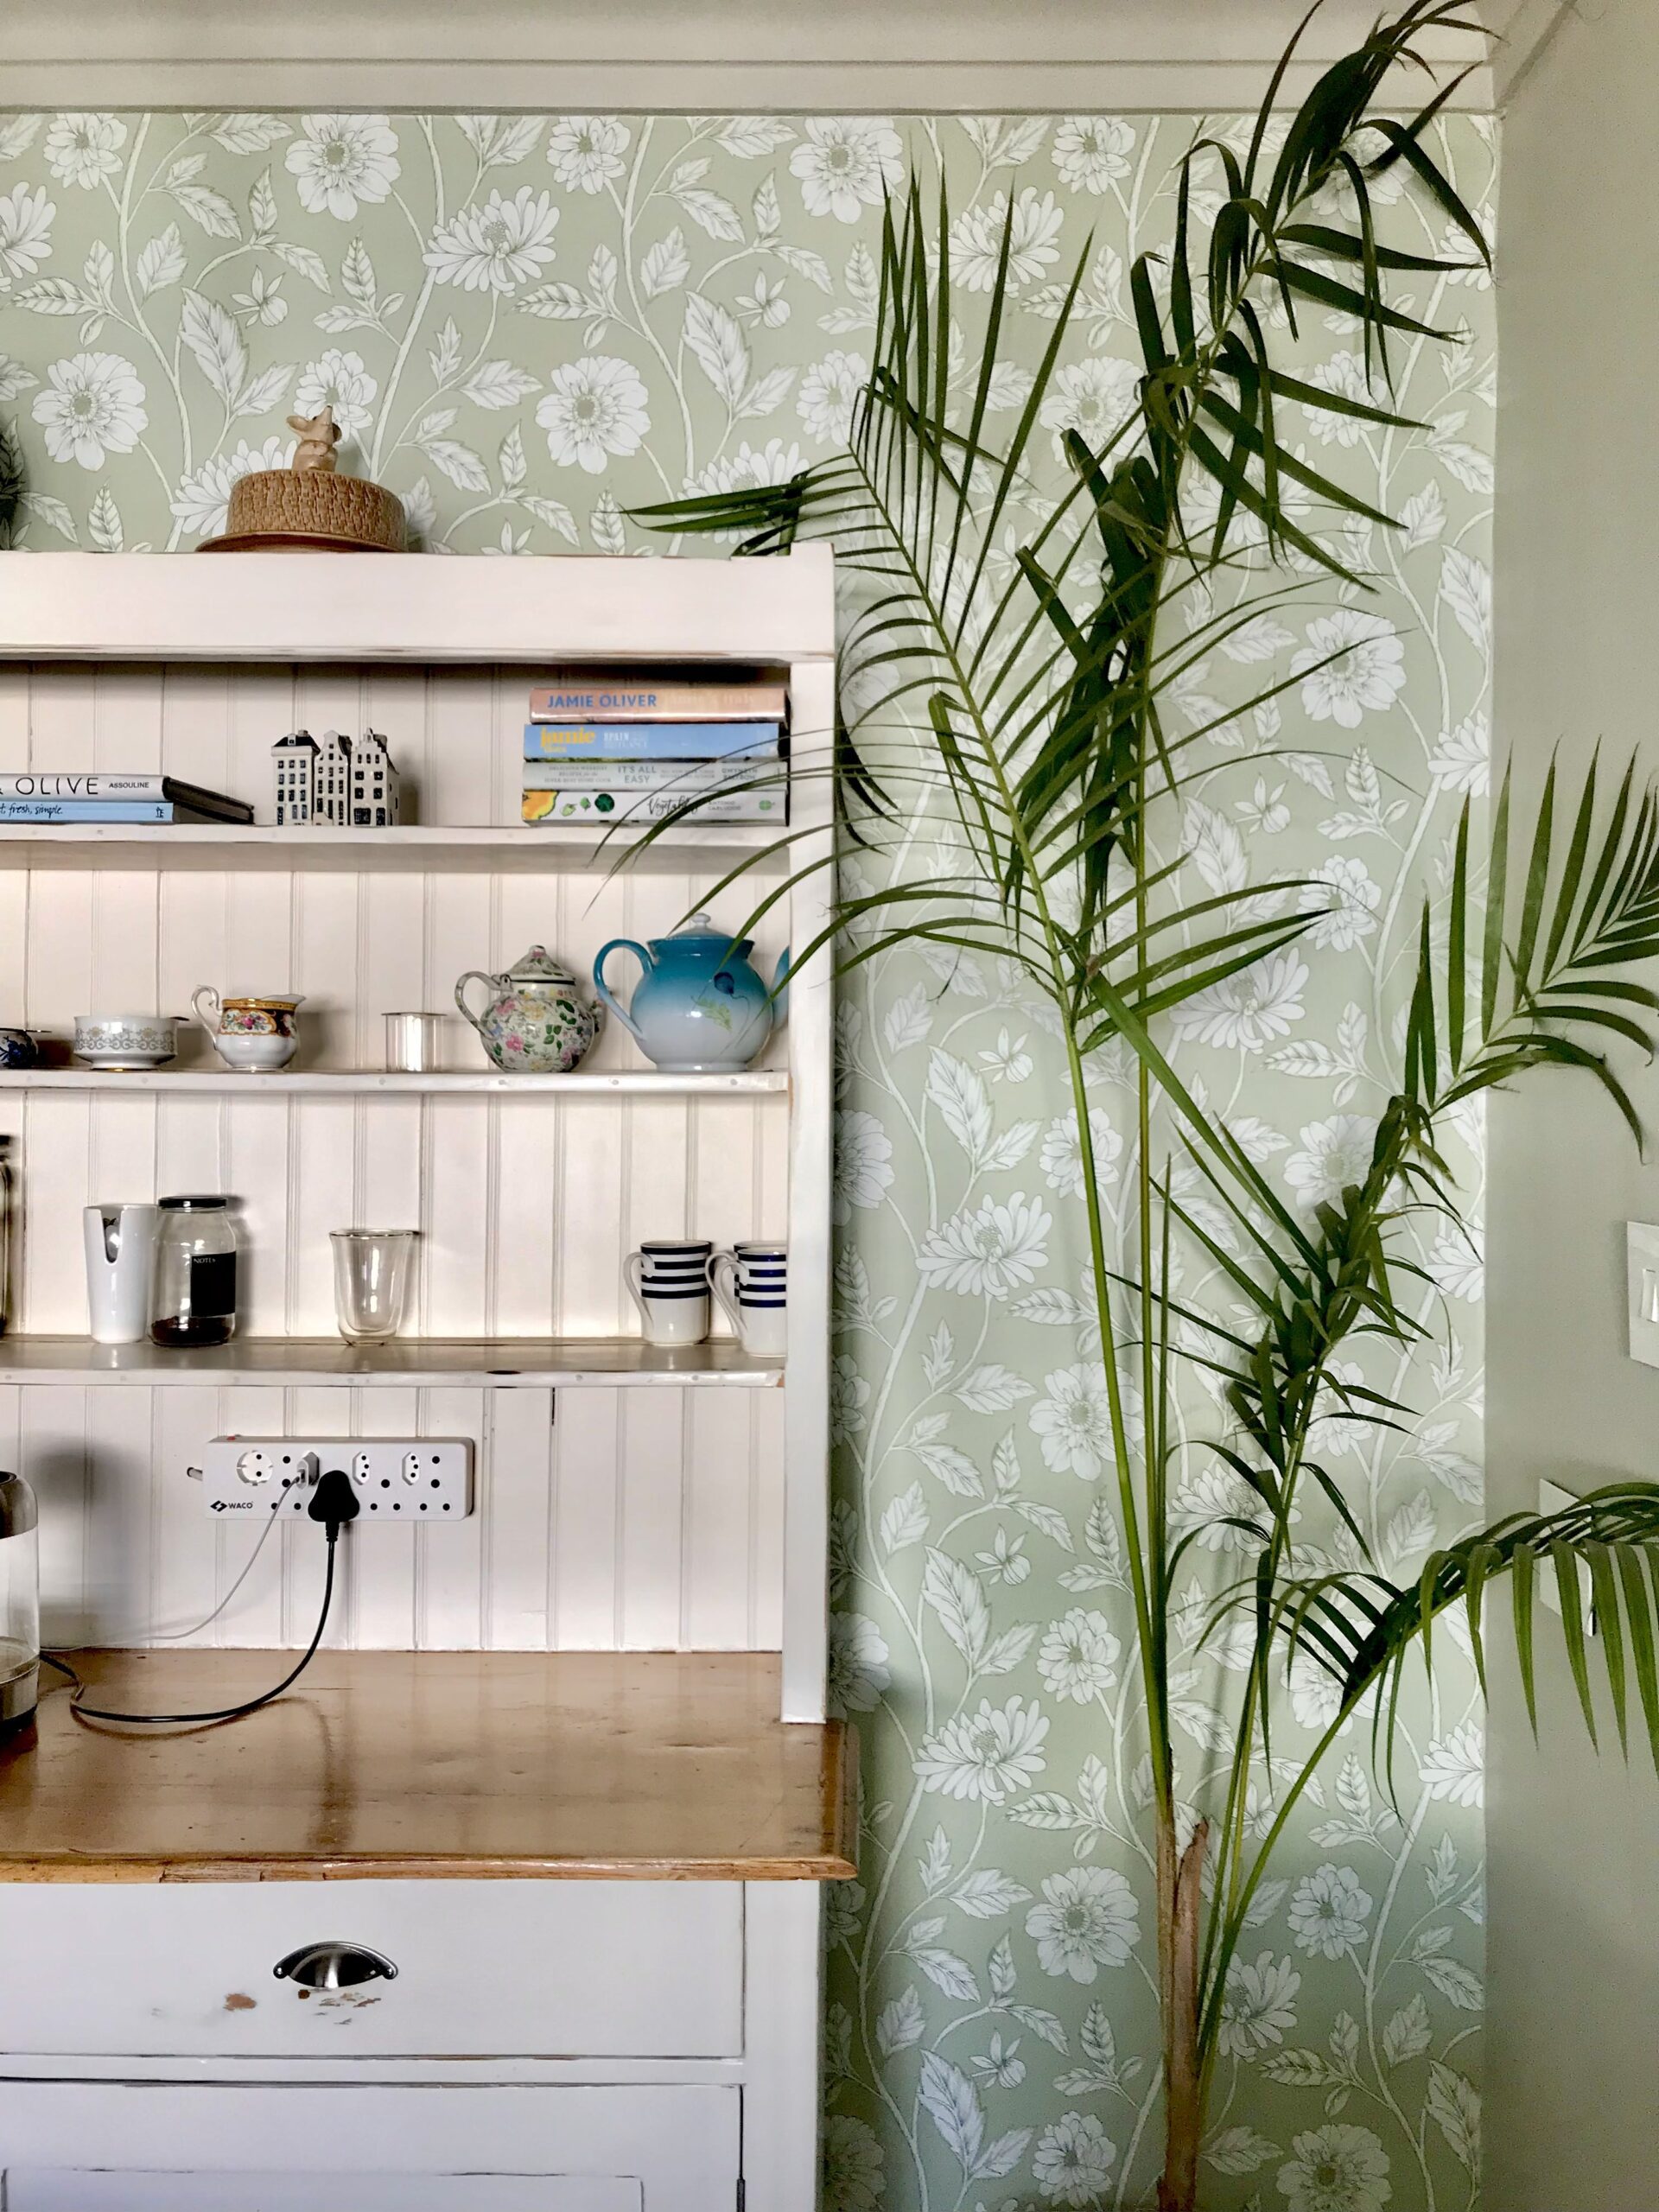
This make-shift kitchen was temporary but had to be practical and presentable. We chose our signature black and white, but budget-wise, floor tiles and ordered flat pack work benches according to the sizes we needed. These were so easy to assemble and before long we had work surfaces and open cupboard spaces. We bought a new sink – one we knew we’d use in the final renovation – and the quality taps we wanted from Victorian Bathrooms. Installing the sink was as easy as cutting out the template with a jigsaw on the wooden countertop and dropping it in. I painted the workbench tops with Hammerite paint to give them a metal-like finish and it all worked well for over two years. As time went by, we purchased two display cabinets which remain our pantry cupboards in the new kitchen and an old “koskas” on auction for R600 which also remained in the new kitchen. We had a beautiful old washed-out piece of wood which we found on the beach that we used as a shelf and added a few other interesting pieces that made our temporary kitchen practical and presentable, as we set out to do.
THE REAL RENOVATION
The time finally came for us to proceed with our approved plans and build our garage which now joins to the kitchen via a pantry and scullery. We moved out of the kitchen at the get-go and set up a gas cooker in the dining room with the workbenches and everything piled in where it could fit and be within easy reach. It was chaotic and topsy turvy, but a renovation wouldn’t be a renovation without the chaos, frustration, and agonizing moments.
At one point in time, the kitchen floor looked like the Kalk Bay Harbour beach. When lifting our cheap black and white floor tiles, we noticed a very large crack in the slab and proceeded to chip it open to repair it. The chip ended up being a removal of the entire concrete slab and rewiring of an electric cable that barely managed to survive under the crumbling slab. We threw down a new slab and screed once we knew the electrics were all fine and working.
As with renovations, the time frame and budget are guaranteed to be blown. This renovation grew rapidly because as we went along, apart from having unexpected surprises like I explained with the slab, our ideas changed and certain contractors let us down and cost us extra time and money, for example, the plumbers. We fired two separate plumbing contractors and proceeded to finish the job properly, ourselves.
The floor tiles delayed us as the colour for the terrazzo stone was mixed incorrectly and given the cost of the tiles, I was not going to settle on something I didn’t want. The kitchen company pleasantly surprised me although they did mess up with the one thing I asked them to be the most careful with, and that was the painting of the cupboards. I wanted a hand-painted brush finish, and they gave me a spray paint finish, so, they had to re-do it and it’s never what it should be, but I settled on that and so far, so good. The kitchen company were willing to make the changes to the plans as it didn’t affect the overall cost to them but rather left us with one unutilized small unit, which we found a practical position for elsewhere.
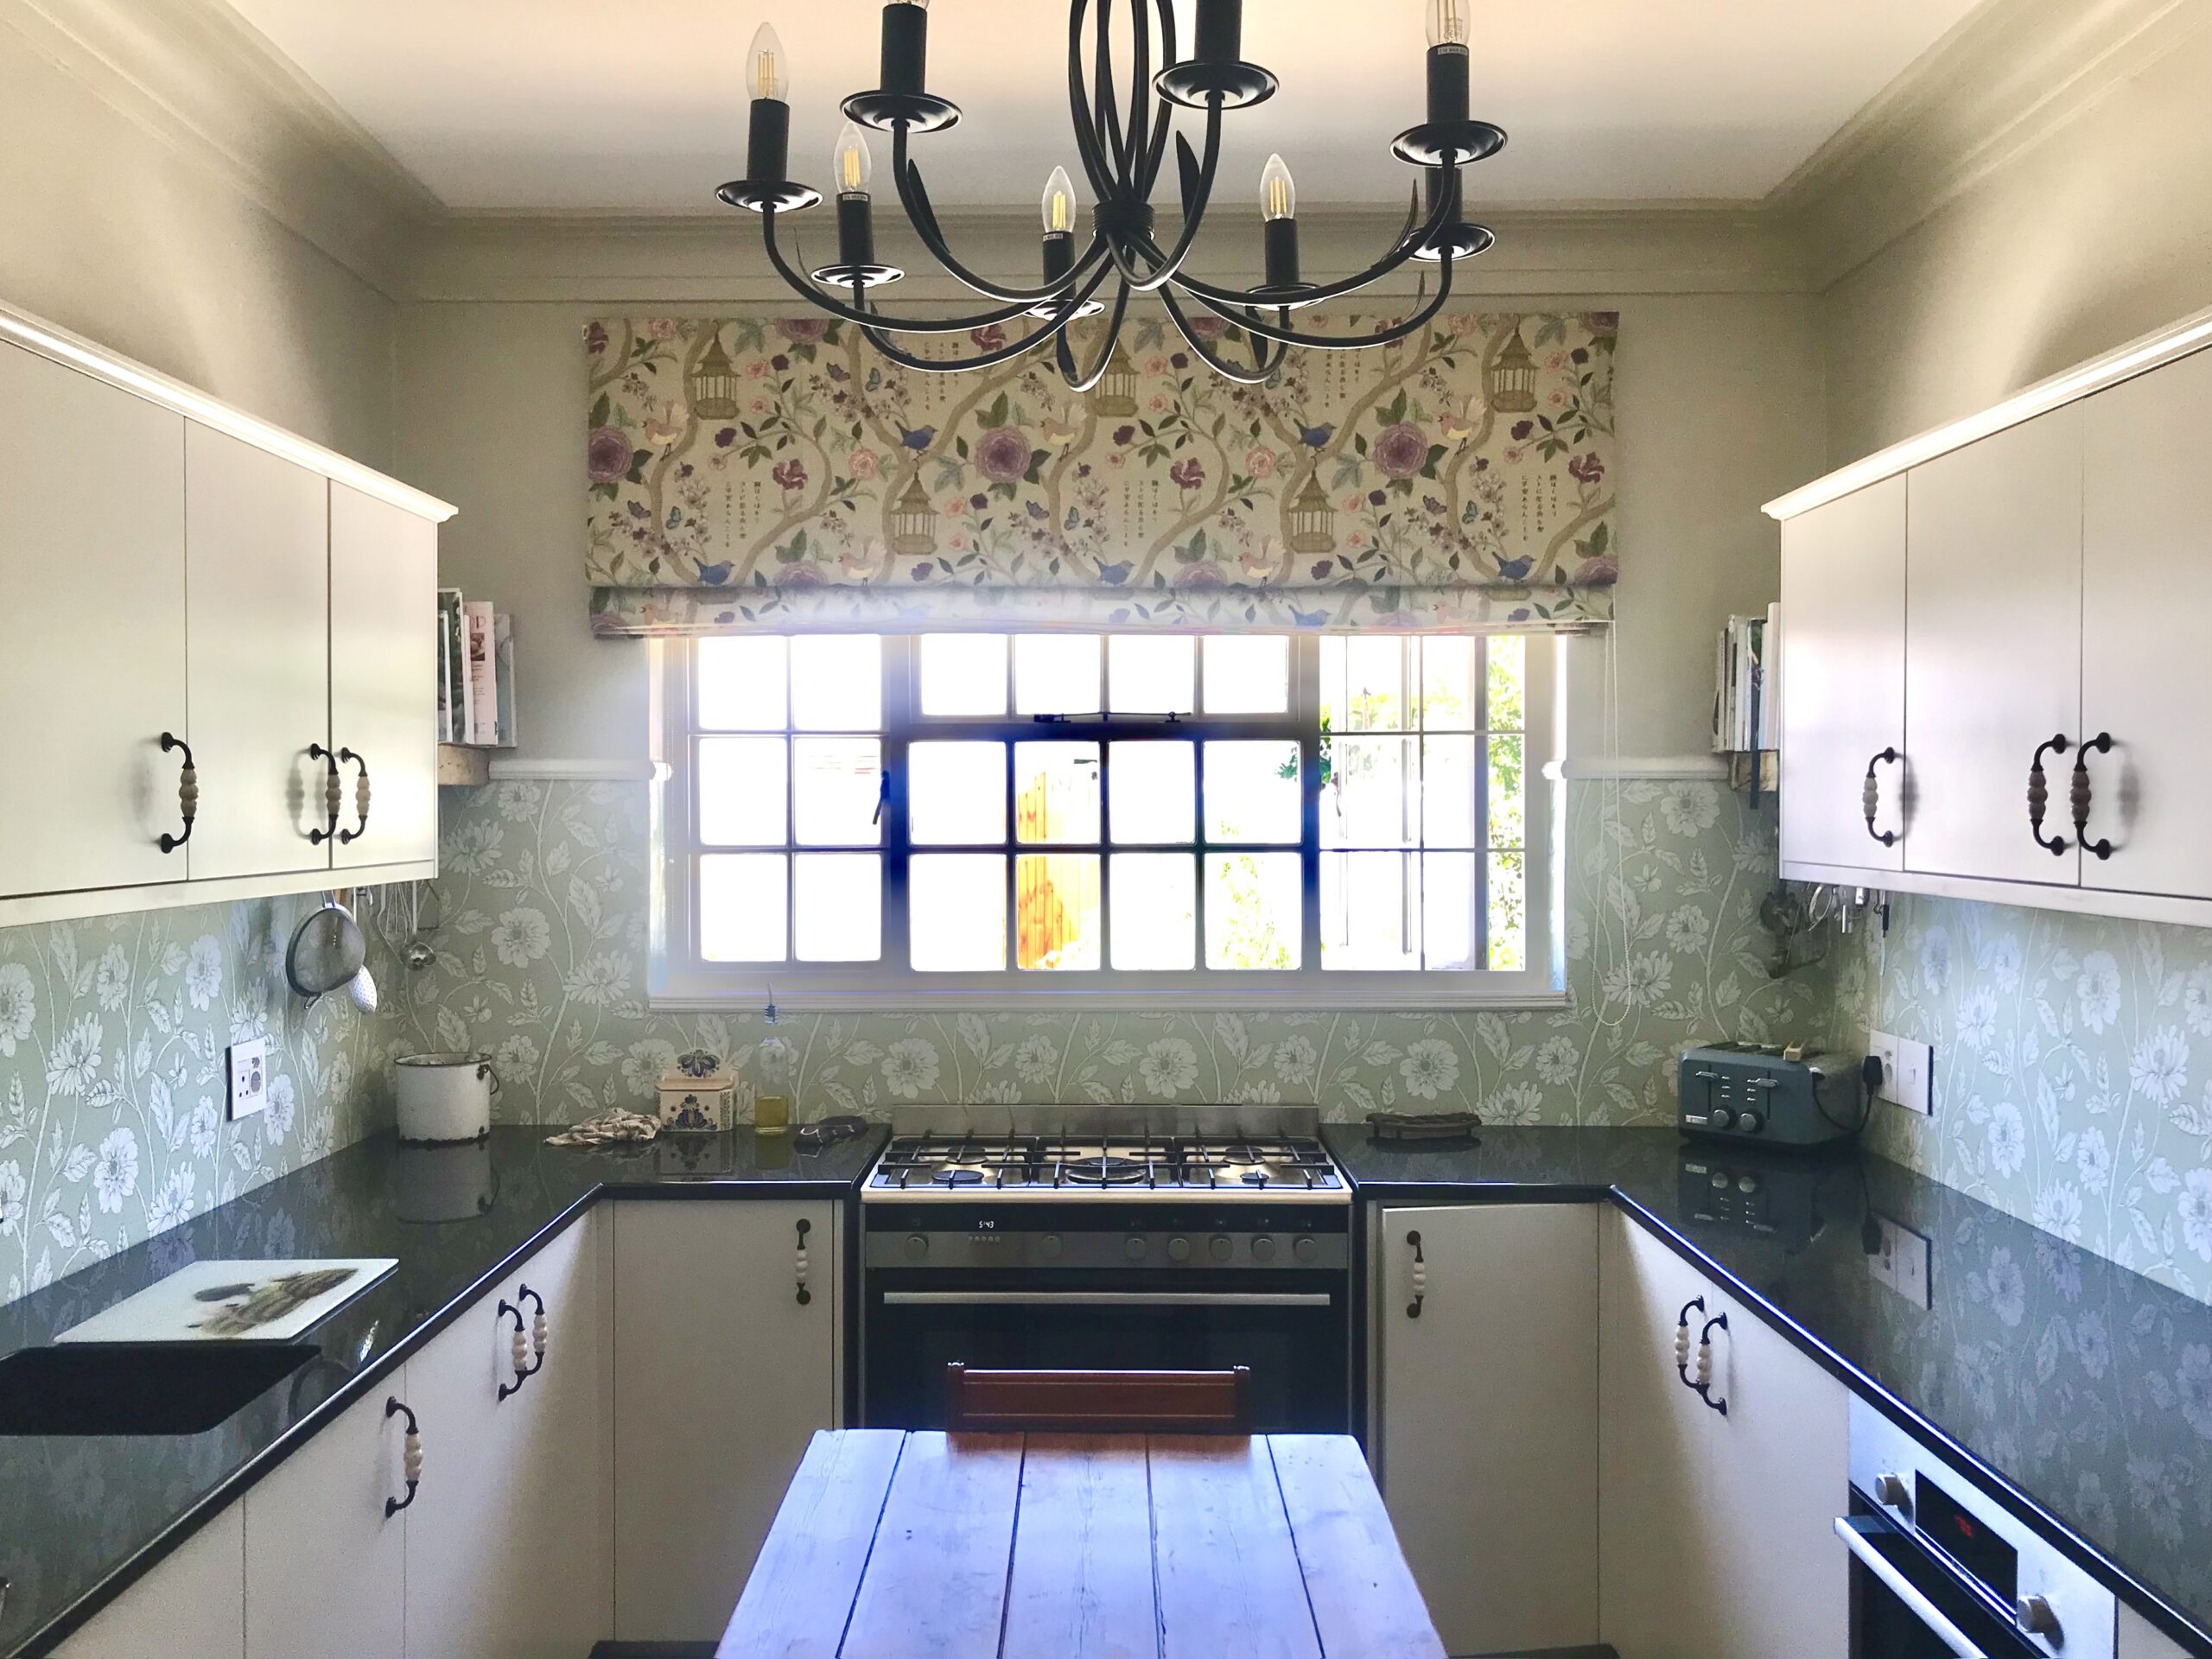
Kitchen during renovationKitchen during renovationRenovated Kitchen
ENSURE IT’S RIGHT, EVEN IF IT MEANS MAKING CHANGES
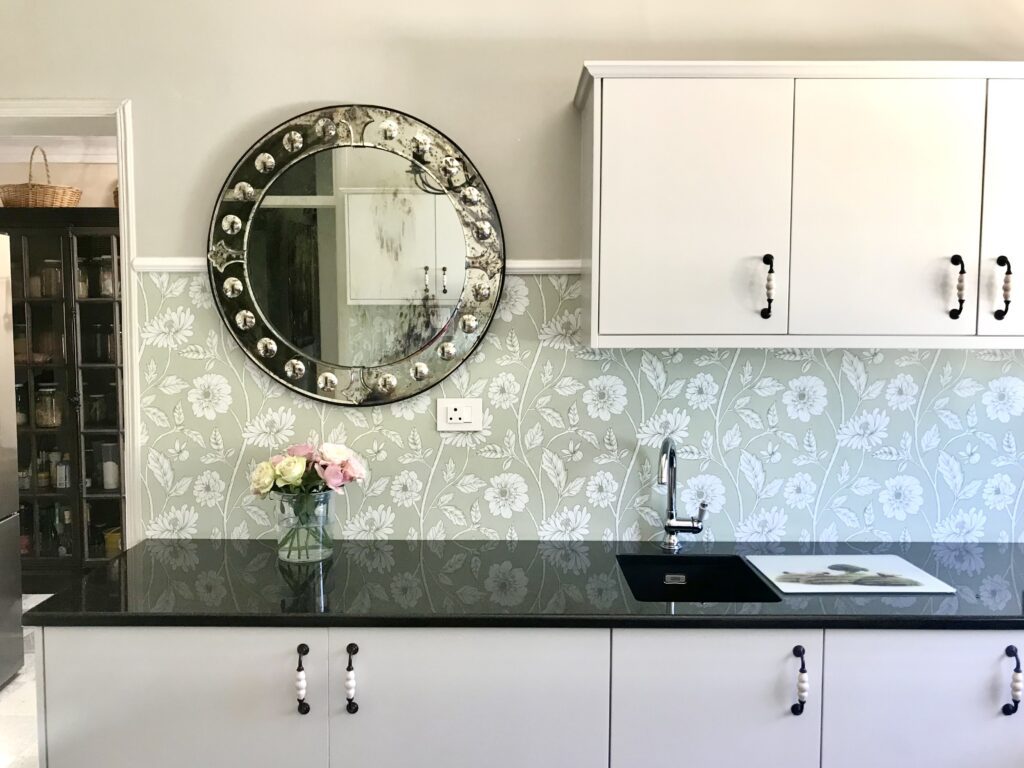
Looking back, I am so pleased we made the few small changes. Originally the sink was going to be in the main kitchen, which was always a compromise. I wanted to fit two washing machines, a tumble dryer, and a dishwasher into the scullery/laundry but it was impossible. After a lot of deliberation and sketches, we decided to omit the one washing machine from the plans and rather install the full scullery. We extended the sink counter width to 70cm instead of the standard 60cm, which was genius. This should be standard for all kitchen renovations. The extra washing machine was given a new and practical spot in another part of the house and the plumbing in the kitchen was used for a prep bowl.
Having lived in the kitchen now for almost a year, there is nothing I would change. If we hadn’t made those minor adjustments, we would be regretting it and wondering how to change it now. Bite the bullet upfront and don’t compromise, if at all possible.
FINDING EXTRAS ON PINTEREST
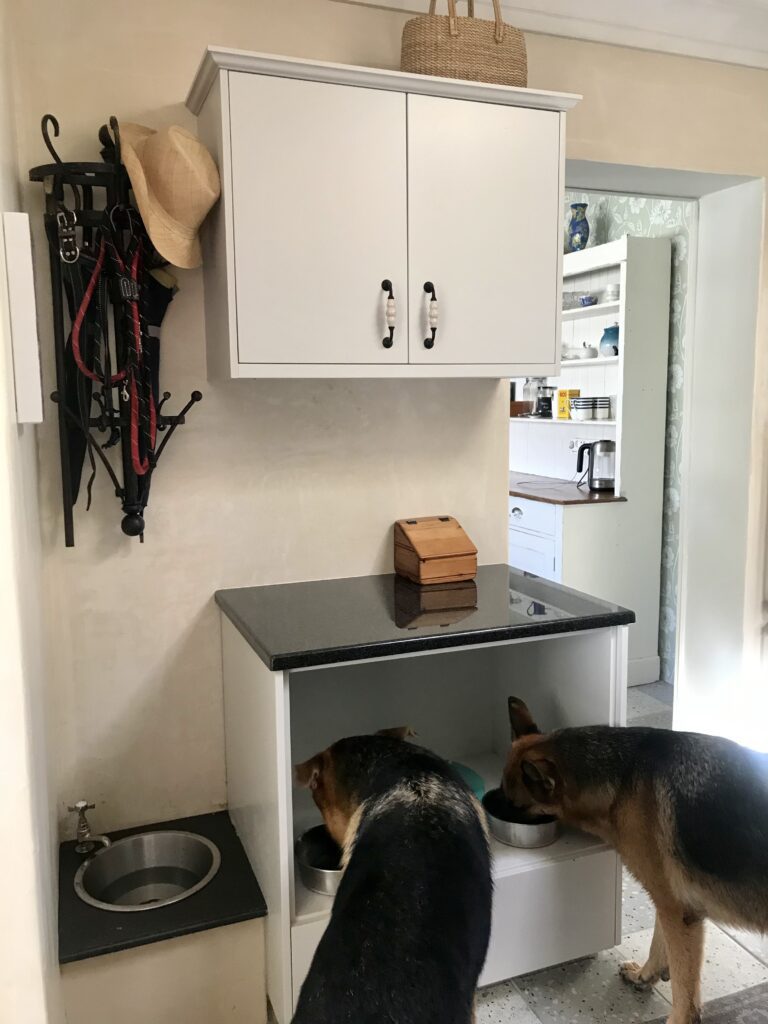
One of the smartest ideas on the plans was the dog station in the “boot room” area. We took a standard 900cm oven unit with a drawer at the bottom and countertop, amended the height of the drawer for the correct eating height for two German Shepherds and built a water station next to the eating unit, also at the right height, with a basin with outflow and tap. The dog food is stored in a large plastic container with lid in the bottom drawer and the rest of the pet accessories and food items are stored in the cupboard above the unit or hang on the rack next to the cupboard. Life with two large dogs can be messy and chaotic but with our perfectly organised feeding and watering station, it’s a breeze and our two pooches love it too.
CHOOSING FINAL FINISHES AND DÉCOR
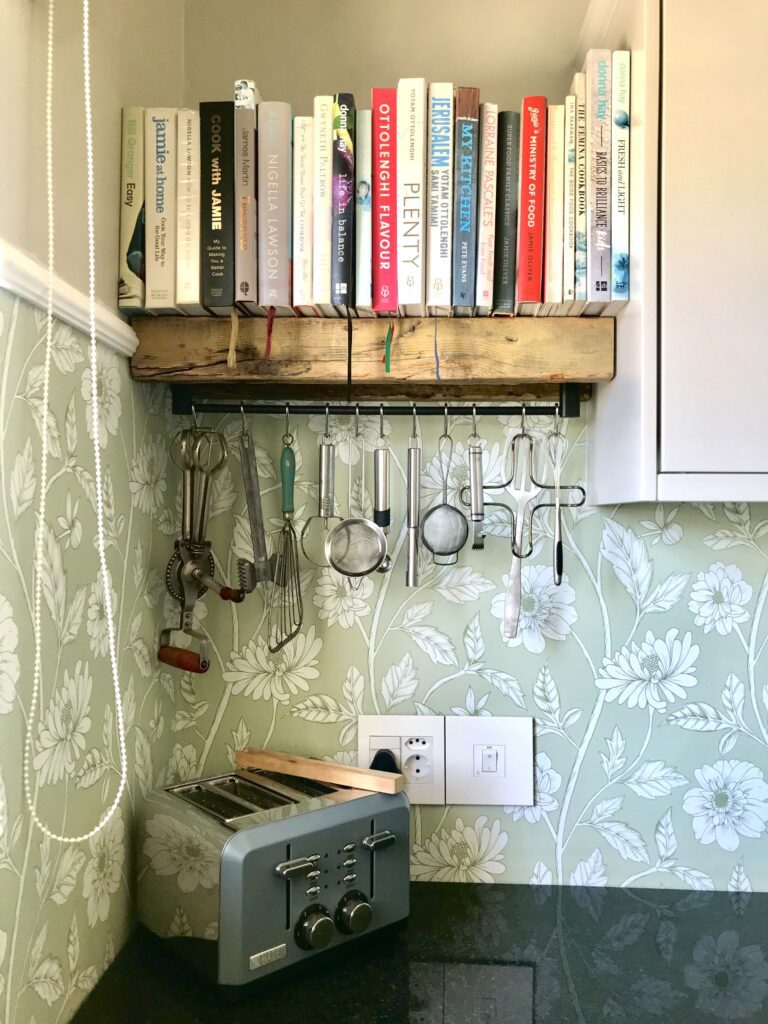
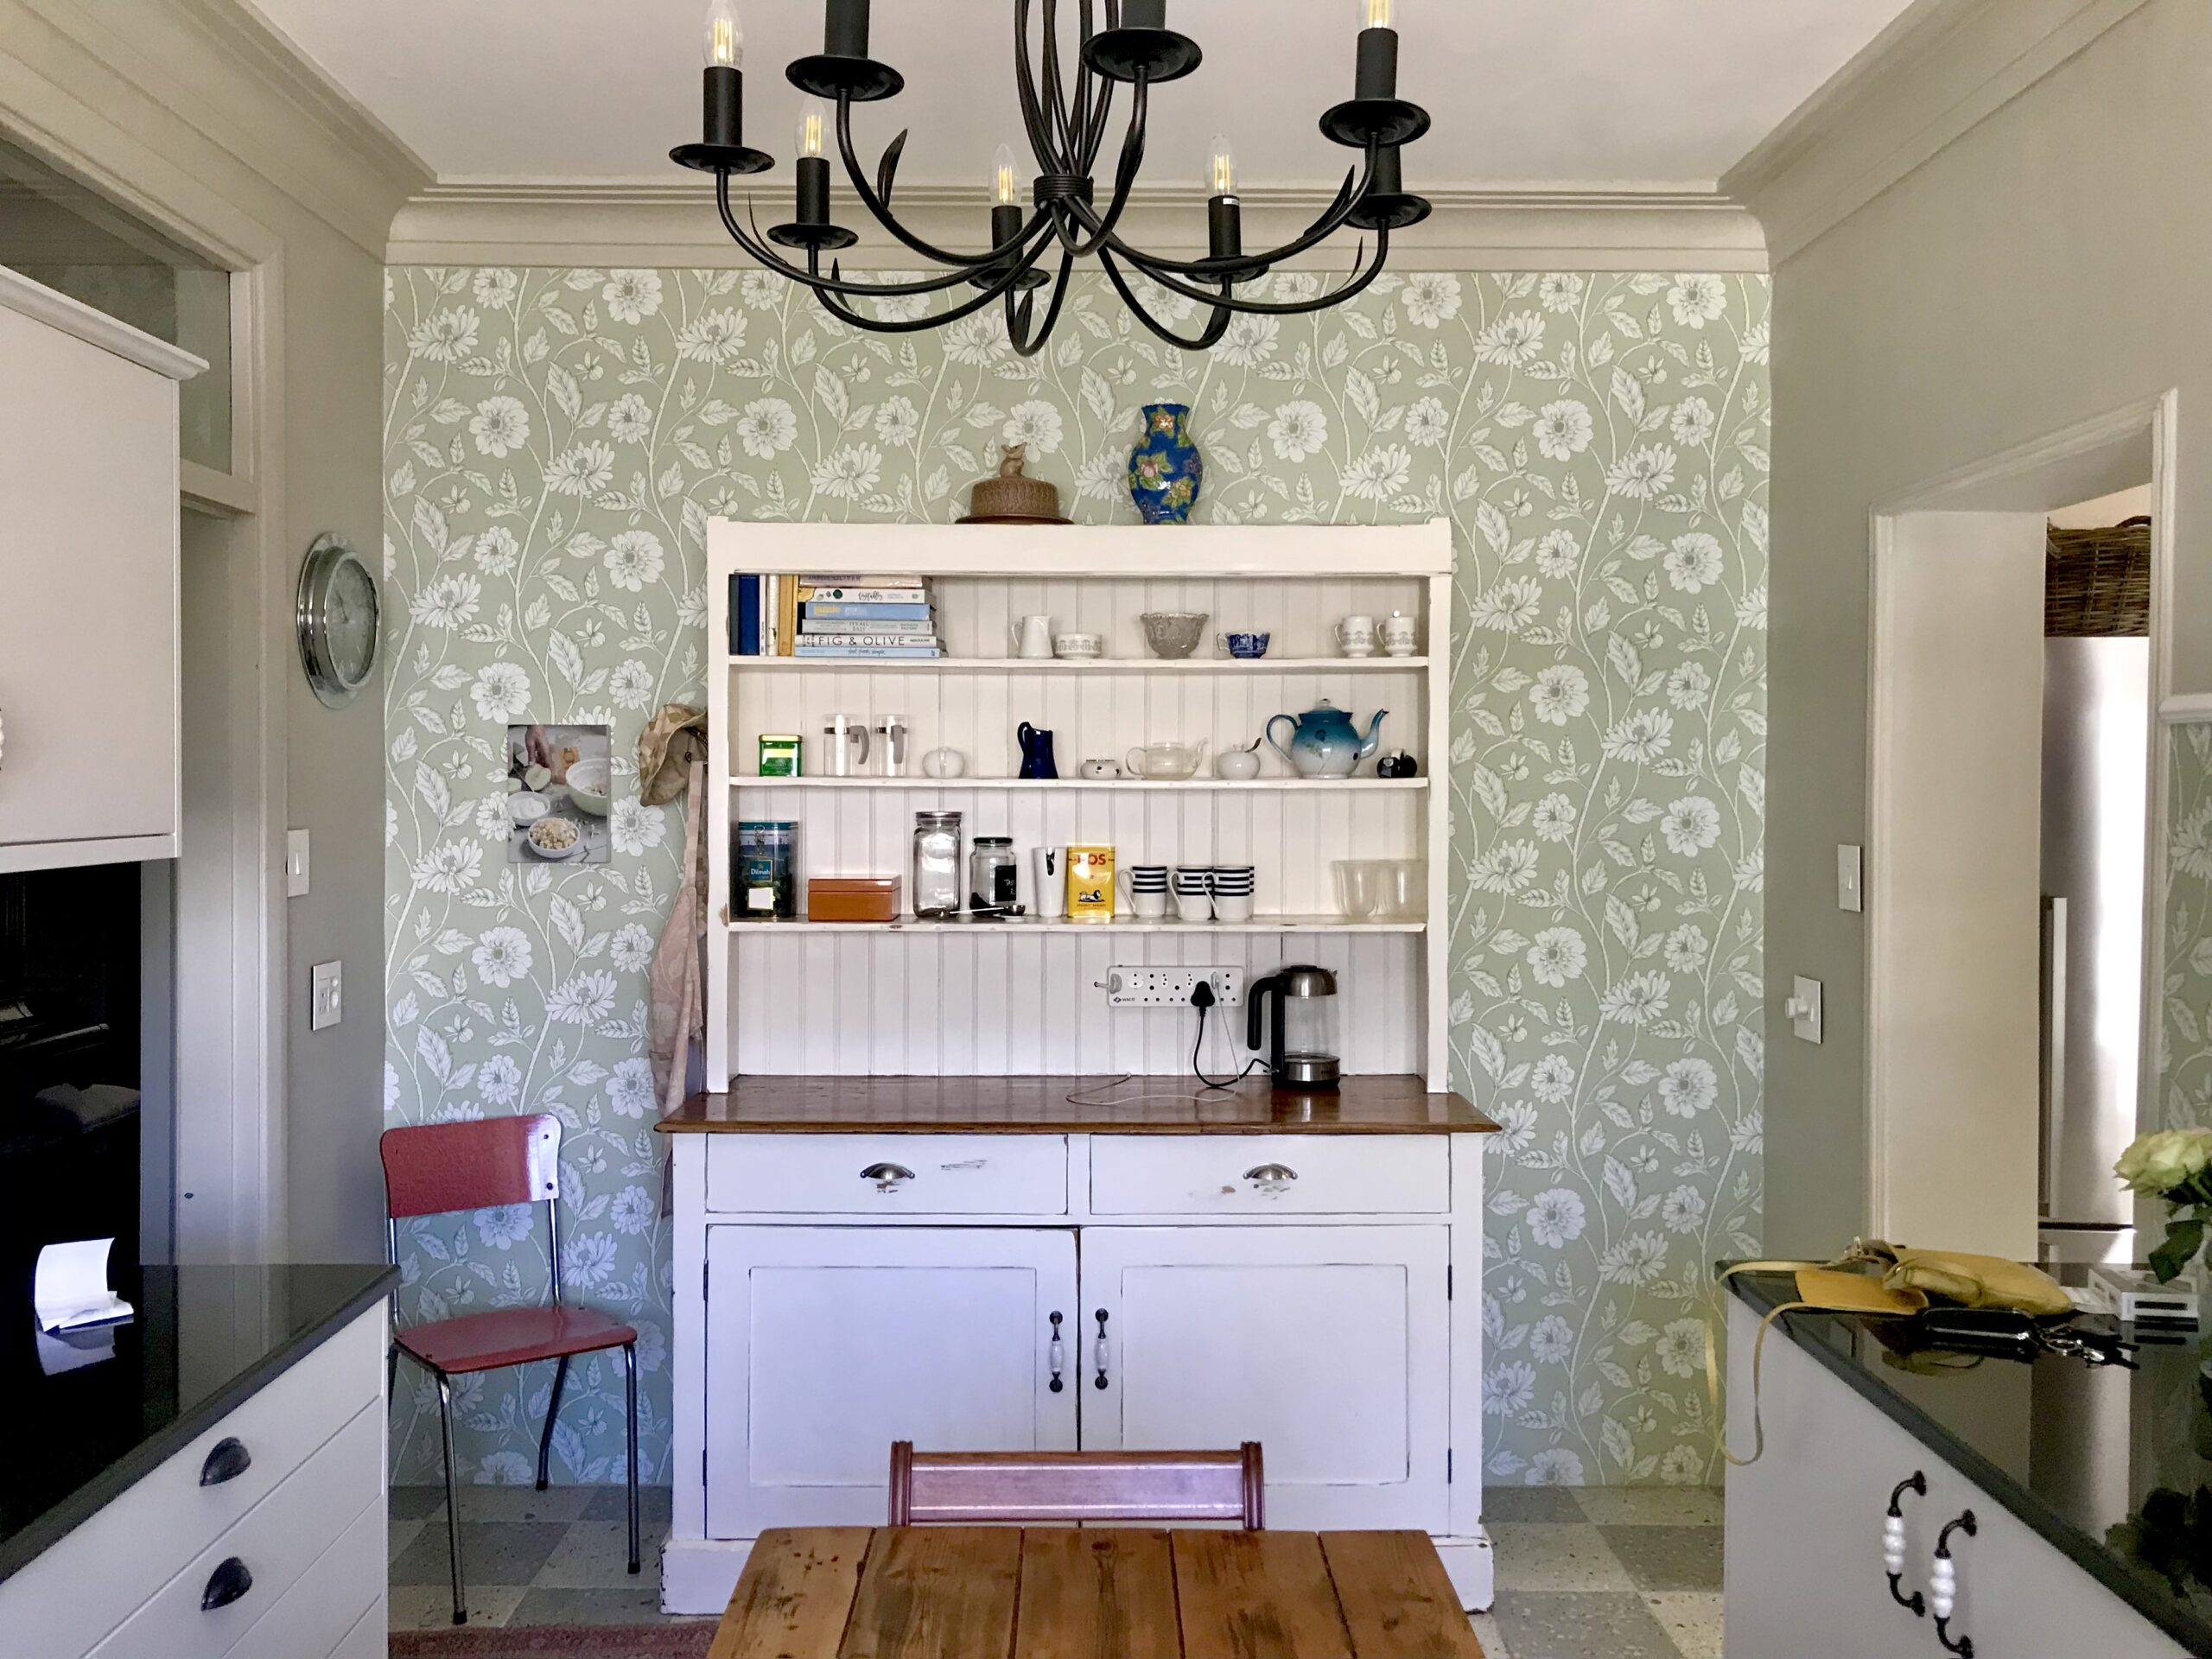
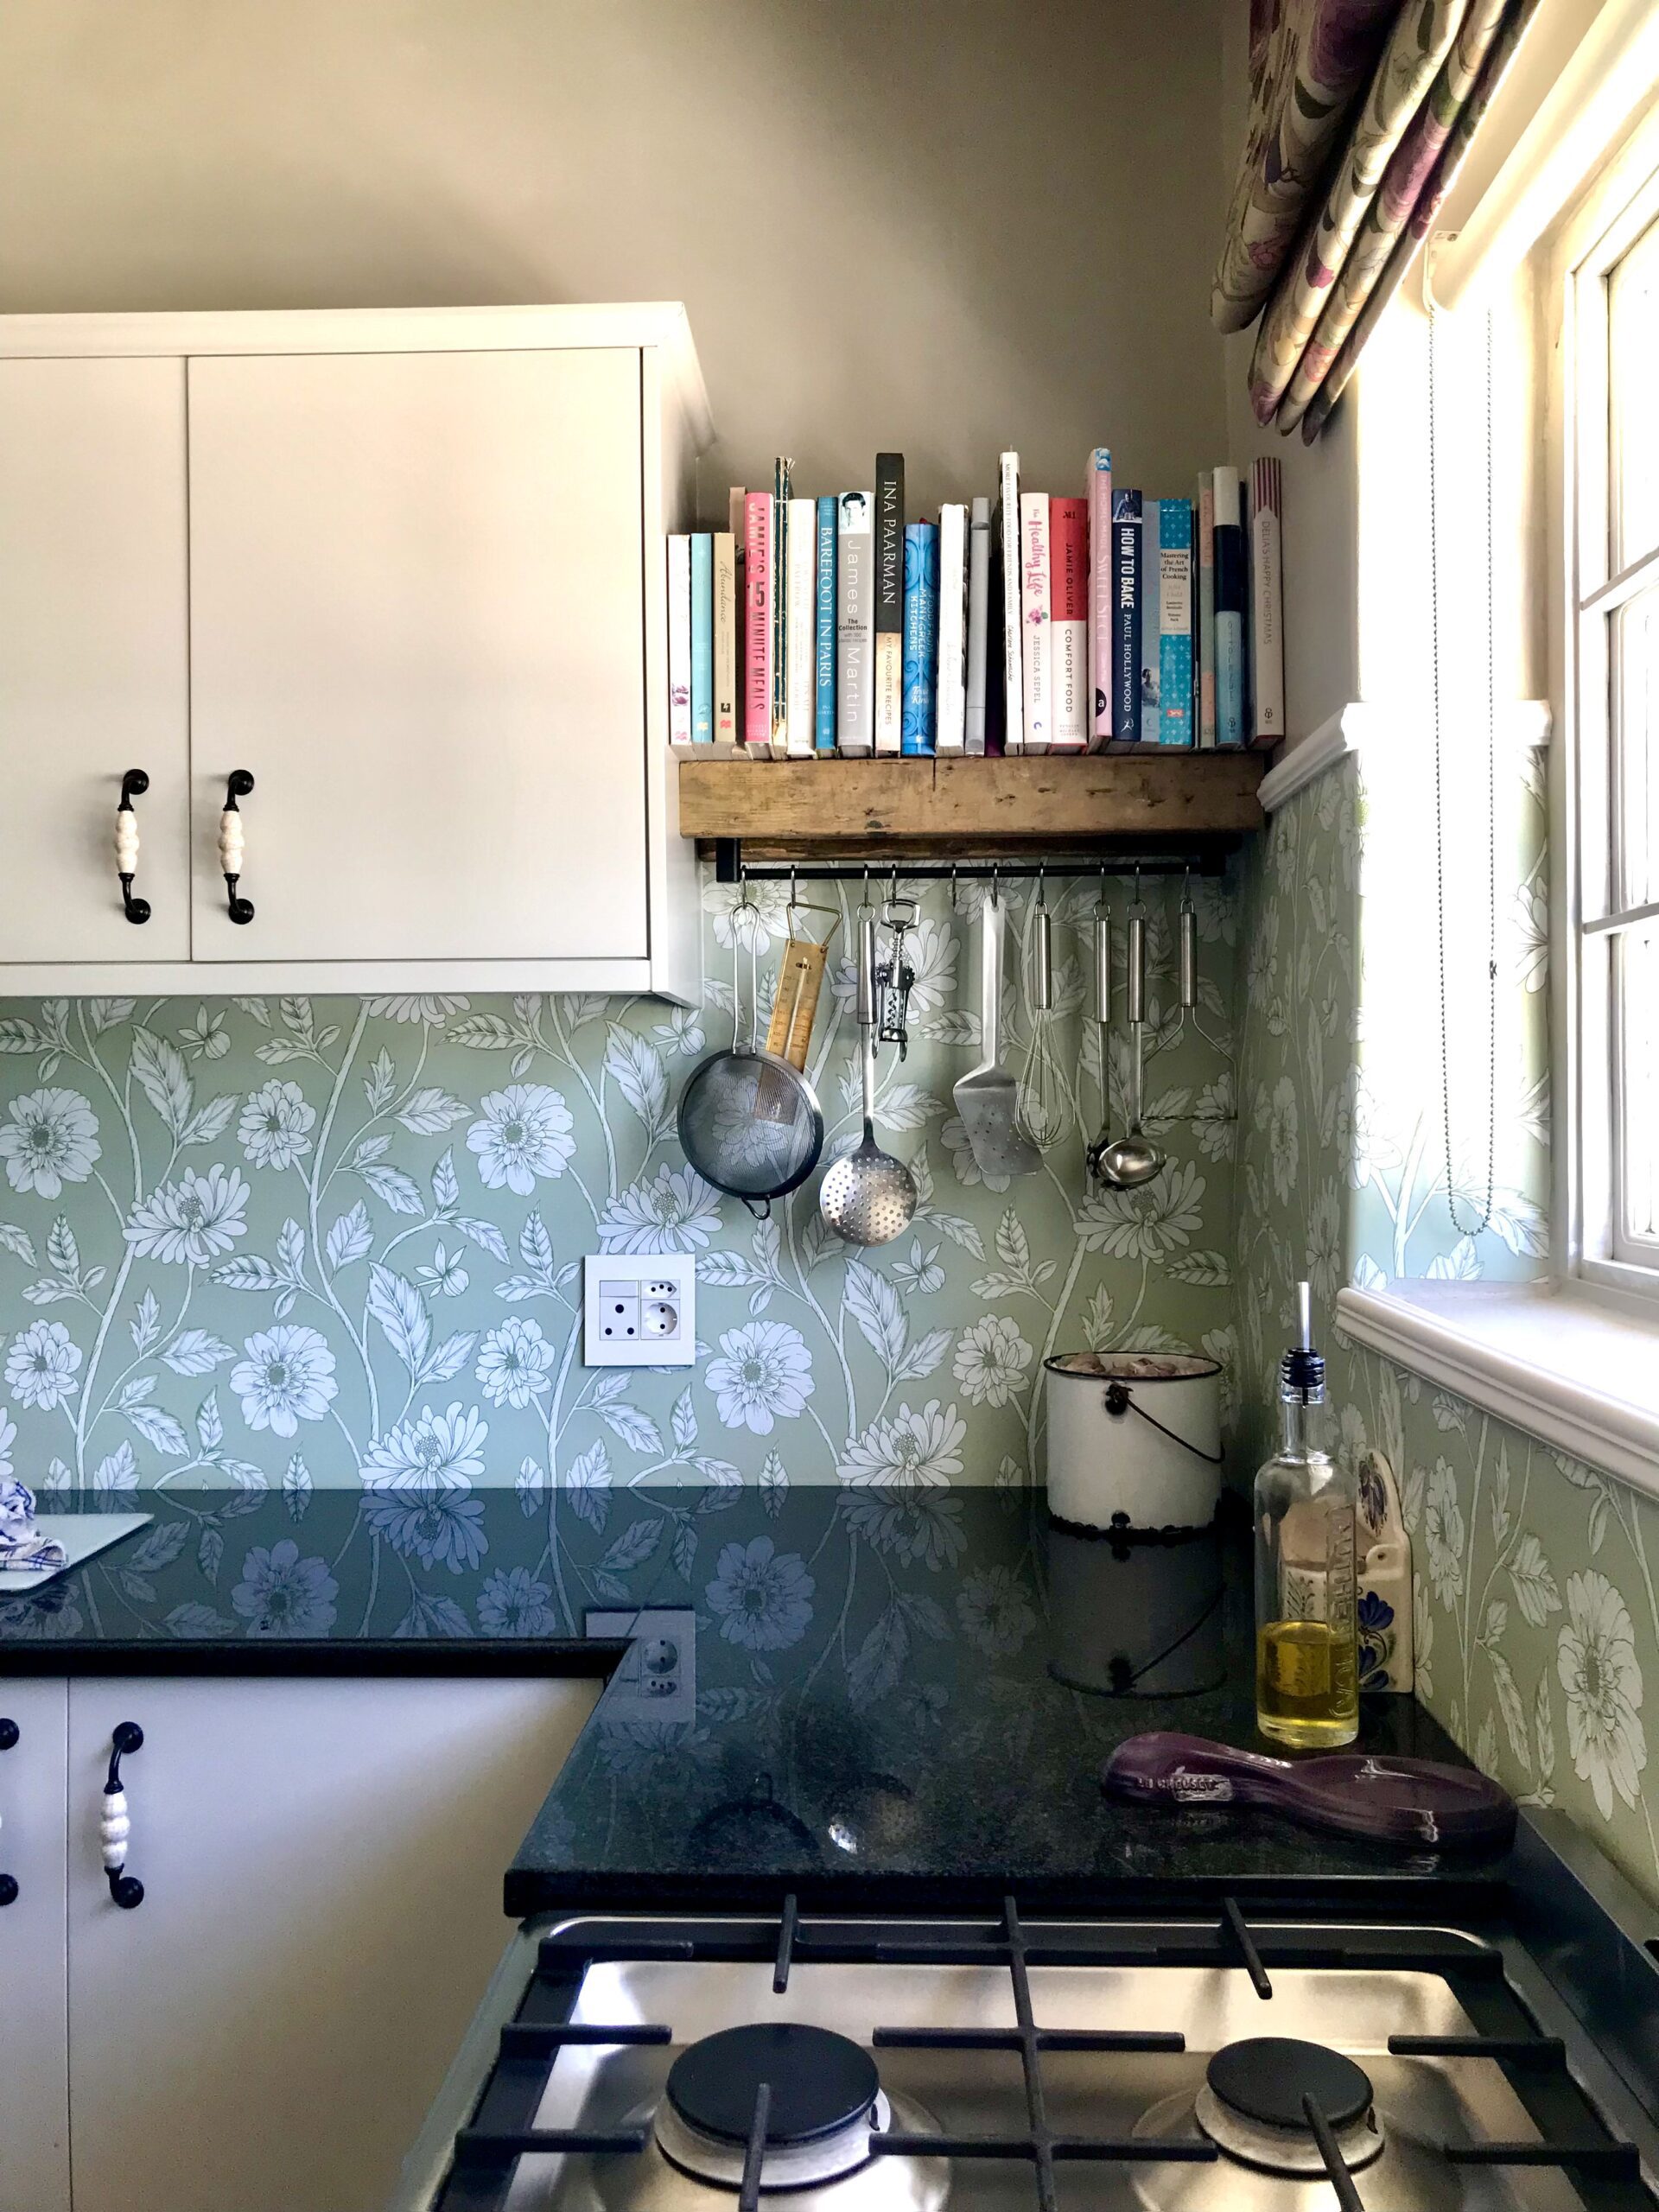
Apart from the planning, the fun is also in choosing the final finishes and décor. Having a surface pattern designer for a daughter with immense talent and style made my choices difficult because it was hard to choose from her designs and colour variations as they are all good. The first step was to choose a colour scheme. I decided on green as the main colour for the space. Green pairs well with the old-fashioned Cape Dutch style and suits the organic flavour of a kitchen. Robyn took photos of the tiles, counters, and paint colour and played around with wallpaper and fabric options on photoshop. This made it easier to visualize the options and decide. We settled on Robyn Valerie’s Trailing Dahlia Green pattern for the wallpaper, and the Japanese Garden Organic for the curtains.
THE FINAL STRETCH
It was an exciting moment when her wallpaper came home. It was her first run, and the results were better than any of us imagined. As a family, the four of us put aside one Saturday morning to hang the wallpaper. It was our second time doing so and we had an idea of how to go about the task. It was so much easier with four us. As it turns out with our family, whatever we do together, works out well. We know our strengths and weaknesses and where our skills fit best, and we get on and do the job. After two hours, the job was successfully completed. The next was installing the dado rails and corner edges around the respective areas and finishing those off with a paint.
The fabric was delivered to the seamstress and the roman blind then installed in place. The fabric is beautiful in design but the colours printed were not as expected. Lesson learnt here was to first print a colour sample before ordering the full meterage. It’s worked out okay. From her new designs, I may decide to re-do the roman blind one day and re-use the current blind in the guest cottage.
Since the laundry come scullery and pantry come boot room with cloakroom were a new build, we sealed the Crete stone on the walls and plaster cornices instead of painting them. They have a washed look, that looks good and if I were to build a house from scratch, it’s the finish I would have on every wall.
LAST BUT NOT LEAST
The scullery looks out of a window onto the guava garden and beyond that, the road. It is a pretty view and gets an amazing sunset. The window is finished with an American shutter.
We went bold with the cloakroom. It was a smelly, moldy outhouse loo/shower room. We stripped the entire room, continued the floor tiles into it, added the same cornice and pasted the gorgeous bold Climbing Dahlia Red wallpaper throughout, ceiling to floor and finished it off with an American shutter. American shutters are the way I would finish off every window if budget allowed. They are practical in so many ways, for cleaning, adjusting light and they add a touch of sophistication.
I am confident to say that we created the kitchen we wanted. It is brand new, with quality appliances and modern installations but it looks as though you’ve stepped back in time. It comprises old and new from hand-me-downs to spanking new, adorning hooks and shelves and ready for making new memories with food being a the focal point of friendship and love.
This website uses cookies so that we can provide you with the best user experience possible. Cookie information is stored in your browser and performs functions such as recognising you when you return to our website and helping our team to understand which sections of the website you find most interesting and useful. Visit our privacy policy for more information.
Strictly Necessary Cookies
Strictly Necessary Cookie should be enabled at all times so that we can save your preferences for cookie settings.
If you disable this cookie, we will not be able to save your preferences. This means that every time you visit this website you will need to enable or disable cookies again.
3rd Party Cookies
This website uses Google Analytics to collect anonymous information such as the number of visitors to the site, and the most popular pages.
Keeping this cookie enabled helps us to improve our website.
Please enable Strictly Necessary Cookies first so that we can save your preferences!